How do I install façade anchors?
- Read time: 2 minutes
- Date: 13 Mar 2024
- Rainscreen & Façades
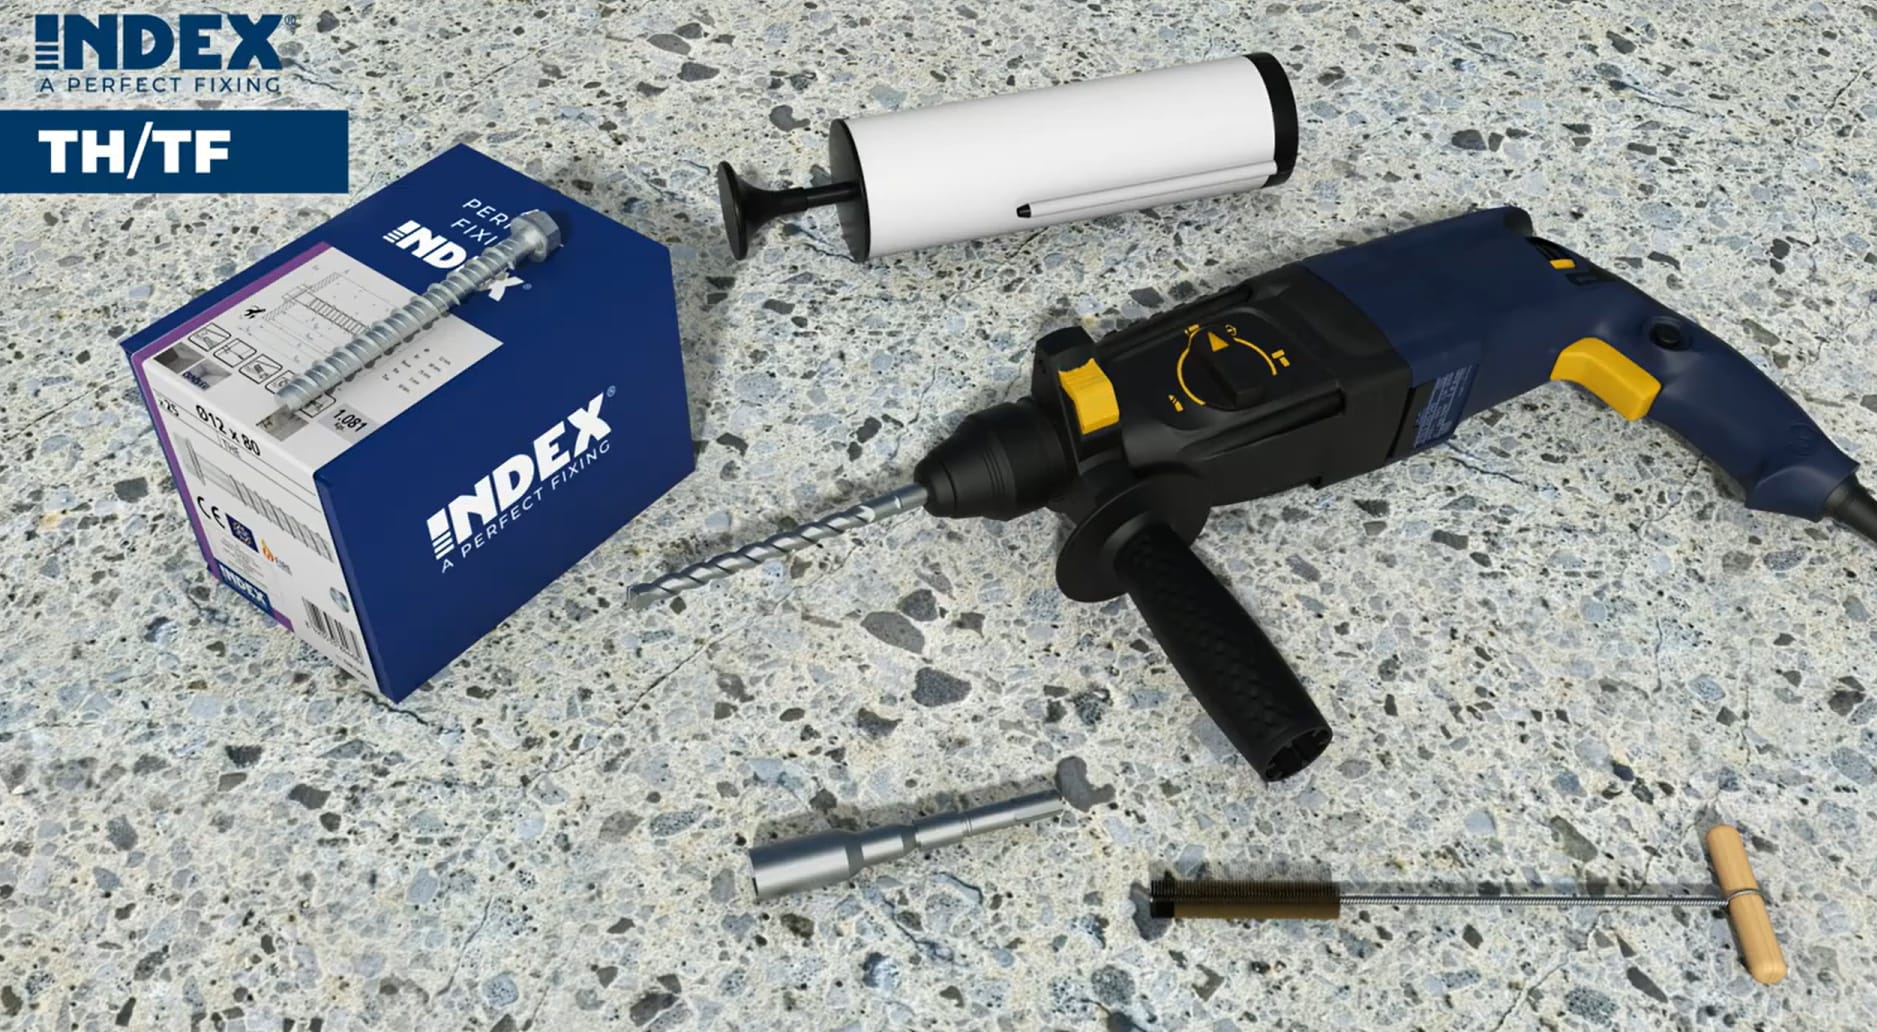
Although, for all types of anchors, you will need:
a drill
drill bits of the correct diameter that are suitable for the substrate (ie concrete)
a brush and blow pump to remove dust from the holes
suitable PPE
Only use drill bits that carry the PGM mark of quality assurance.
Learn more about façade installation tooling
Listed below are the installation methods for the most common types of anchor used in façade applications - frame fixings, concrete screws, through bolts, and resin anchors.
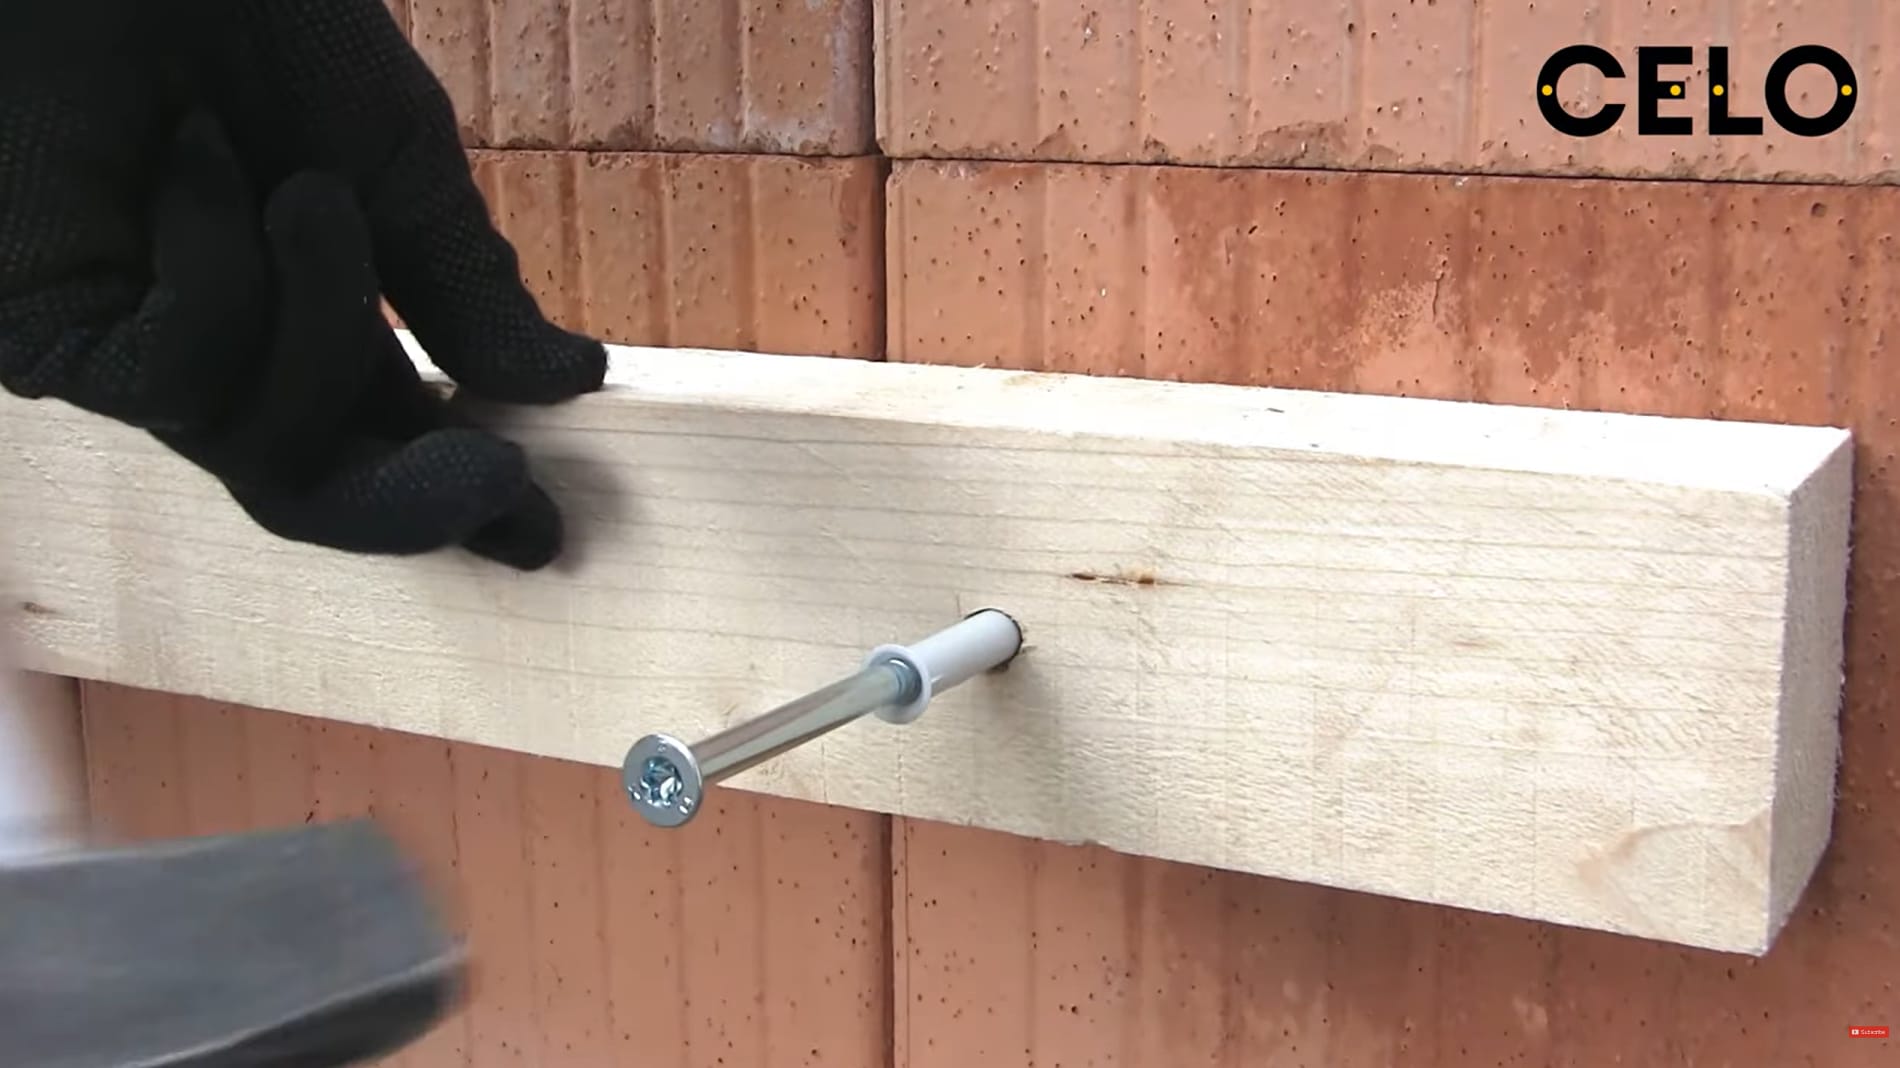
How are frame fixings installed?
Frame fixings are quick and easy to install. Simply drill a hole into the substrate and clean the dust from the hole using the brush and blow pump. Insert the frame fixing through the fixture and into the hole by hand, then tap the head of the frame fixing with a hammer until the nylon plug is flush with the face of the fixture. Drive the anchor into position using a cordless drill/driver or an impact driver. This causes the nylon plug to expand as the anchor is tightened, holding the fixture firmly in position.
How are concrete screws installed?
Drill a hole of the correct diameter and depth and clean it using a brush and blow out pump. Insert the anchor through the fixture and into the hole. Using an impact driver, install the anchor until the fixture is held securely.
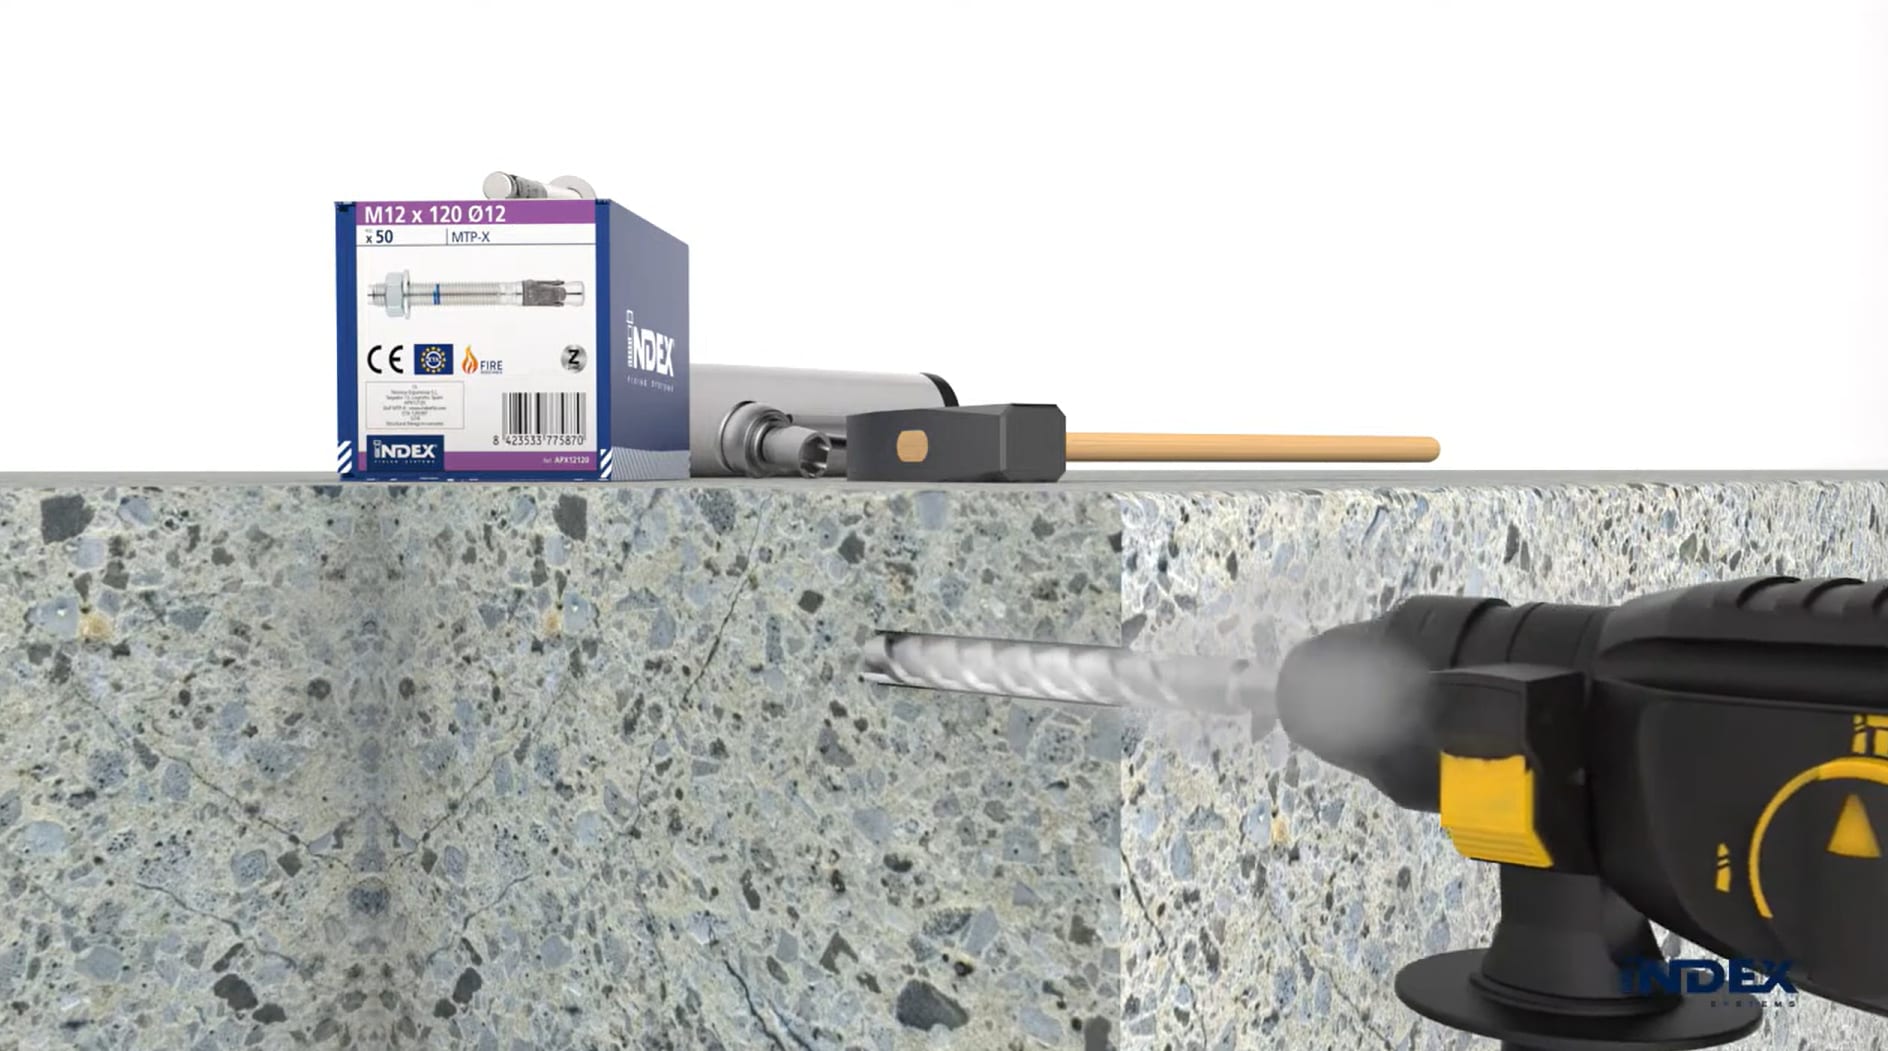
How are through bolts installed?
Through bolts are installed by drilling the correct-sized hole into the substrate, then cleaning it with a brush and blow pump.
The anchor is then passed through the fixture so that the nut is on the face of the fixture. Place the anchor into the hole and use a hammer to tap into the correct depth - see manufacturer's guidance. Some products have a line on the thread to show how far to insert the product.
The bolt is then tightened using a calibrated torque wrench. This draws up the stud causing the metal shaft to expand, holding it firmly in position.
When installing through bolts, the torque wrench must be set to the rating specified by the manufacturer. This is important because if the torque wrench is under set, the bolt won't be able to support the loads placed on it over its lifetime. Similarly, if it is over set, then there is a danger you could sheer the anchor.
How are resin (or chemical) anchors installed?
Typically, there are two different ways of applying the resin for a chemical anchor. It is usually supplied in a cartridge but can also be supplied in capsule form.
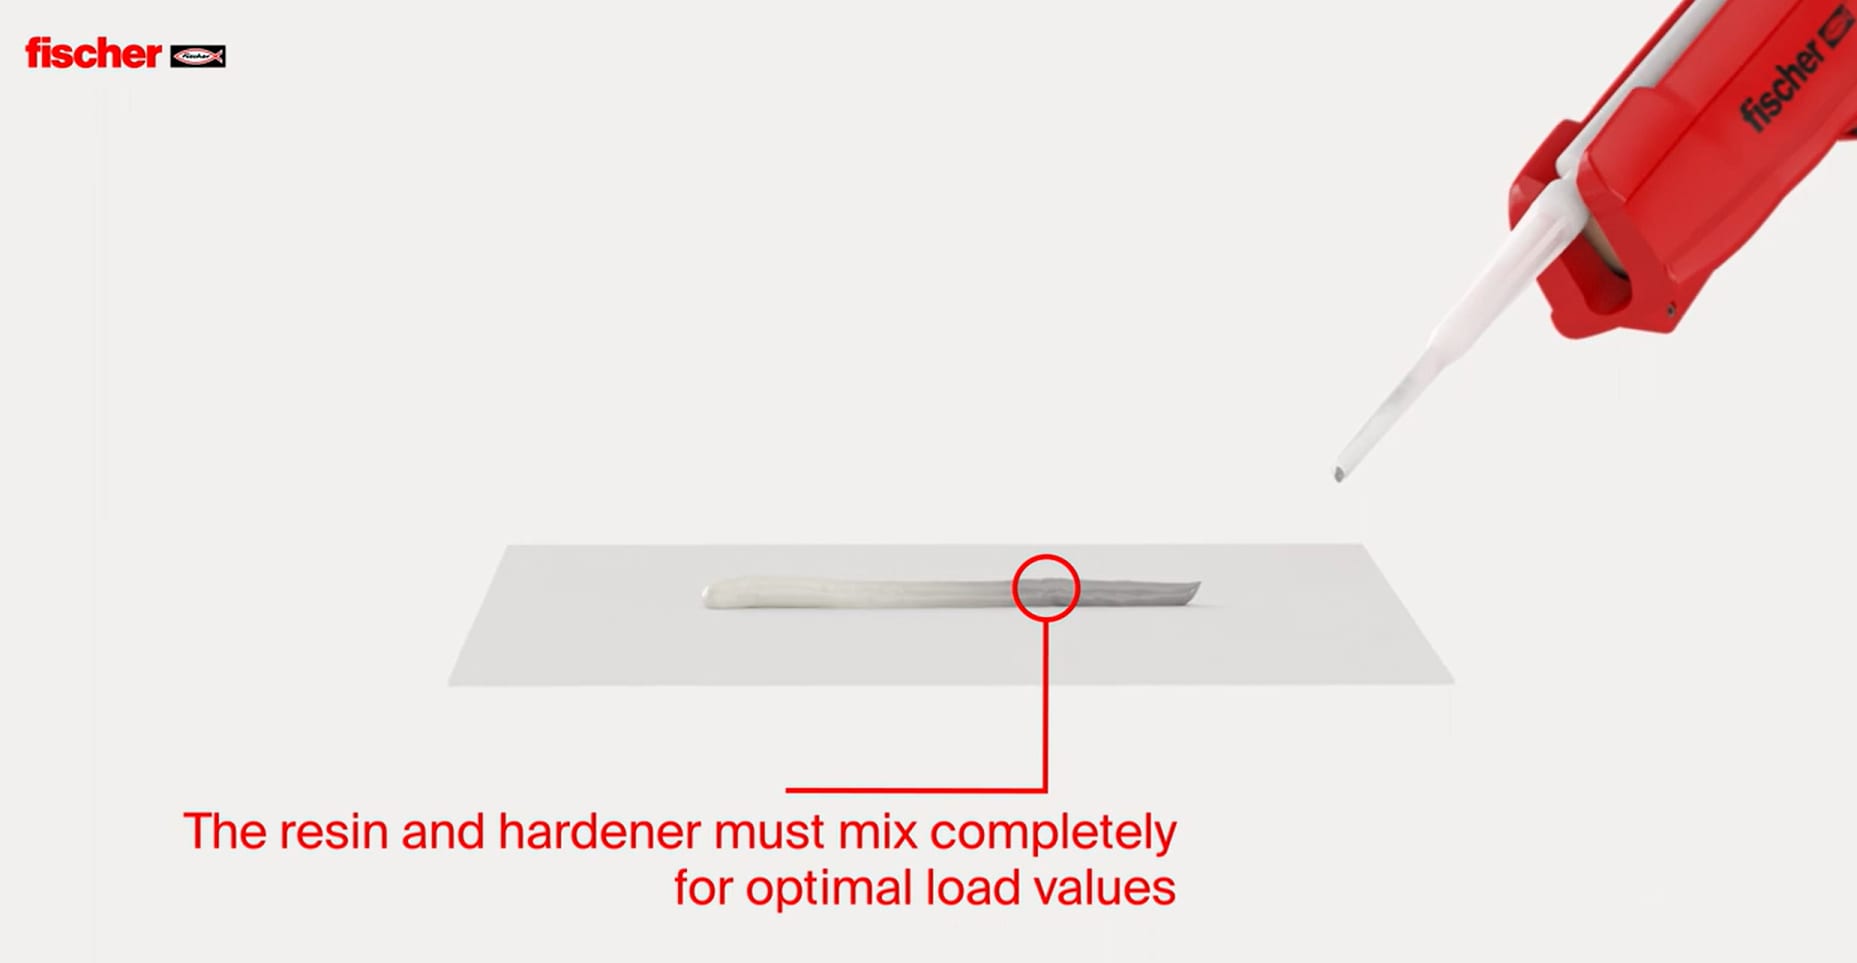
Cartridge installation
Drill the hole (note: some manufacturers do not allow diamond drilling - always check the manufacturer's guidelines) to the correct diameter and depth, and clean it using a brush and blow-out pump. The cartridge contains a resin and a catalyst (in two separate compartments), which are mixed as they are pushed down the specialist mixing nozzle. It is important to discard the first 50-100mm of the product until a uniform colour and consistency is achieved. The nozzle should then be placed in the bottom of the hole to avoid entrapped air, and the correct amount of resin dispensed - following the manufacturer's guidelines. Longer nozzles are available for deep and/or difficult to access holes.
The stud is then inserted into the hole and rotated to the correct depth, before being left to cure. Curing time varies depending on the temperature - check the manufacturer's guidance. It's important not to tamper with the stud while the curing process if taking place - and once it is set, the fixture can be placed onto the stud and tightened to the specified torque using a calibrated torque wrench.
If the substrate you are fixing to is hollow, a sleeve can be used. The sleeve will allow some of the resin to pass through it and interlock in any void, and will help to form a consistent bond to the substrate while preventing wastage.
Capsule installation
Drill the hole (note: some manufacturers do not allow diamond drilling - always check the manufacturer's guidelines) to the correct diameter and depth and insert the capsule. Check the manufacturer's guidance as to cleaning the hole.
Drive the stud into the capsule using a drill/driver. This will break the capsule, mix the chemicals together and start the curing process. Curing time will vary depending on the temperature - check manufacturer guidance. It's important not to tamper with the stud while the curing process is taking place - and once it is set, the fixture can be placed onto the stud and tightened.

Whether it's a cartridge or a capsule, it's always important to check manufacturer guidance in relation to ambient temperature - and relating to use in damp conditions, as not all products can be used when the hole is damp or wet. Also, check for an expiry date.
Anchor installation
If one of the fixing points fails, the extra load is transferred to the adjacent fixings, which could then cause them to fail - causing a domino effect that results in a system failure - the effects of which could be catastrophic.
BS 8539:2012 states that anchors should be installed and supervised by competent individuals. BS 8539 defines competent as: 'Suitably trained and qualified by knowledge and practical experience, and provided with the necessary instructions, to enable the required task (s) to be carried out correctly'.
Anchor manufacturers provide technical data which must be carefully followed, such as drill hole depth, minimum edge distance, minimum spacing, or other details. Failure to follow this could result in the substrate cracking and lead to fastener failure.


